And I’m NOT talking about stereoscopic imagery! There are a lot of new 3D tools out there, from free, to cheap, to expensive. They all have their place and in this short blog post, I explore some of them.
In a single day today, I used about six different 3D apps, which ranged from Newtek Lightwave 3D, Video Copilot Element 3D, Pixologic Sculptris, NextLimit RealFlow, NextLimit Maxwell Studio, and NextLimit Maxwell Render. Because of their diversity in what they do, I figured I’d blog about. As much as all of them are different in cost, performance, and features, they all output great quality 3D imagery in the end. In a nutshell, 3D has come a LONG way.
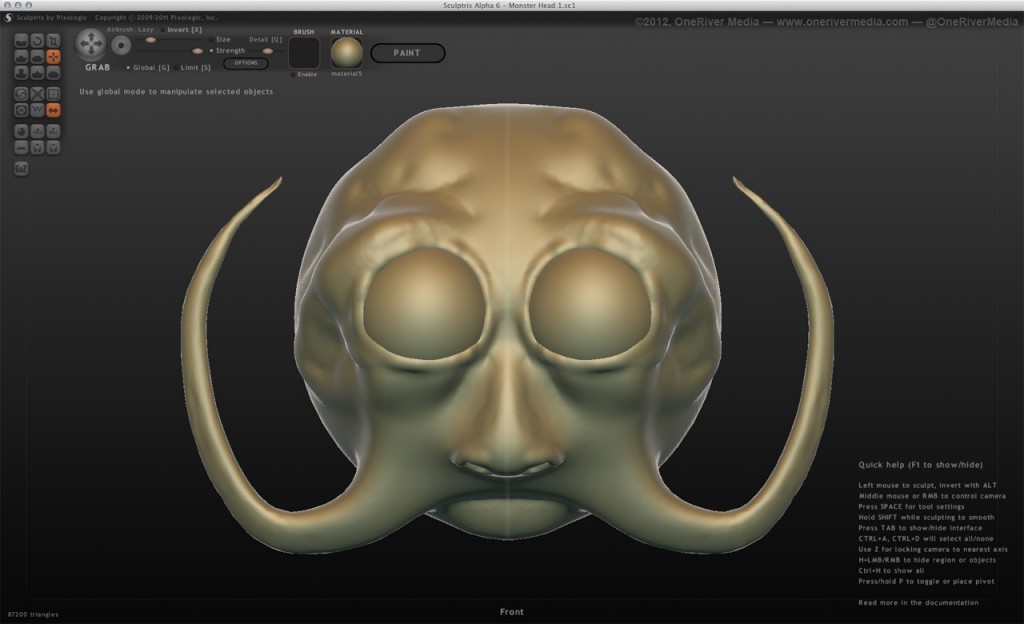
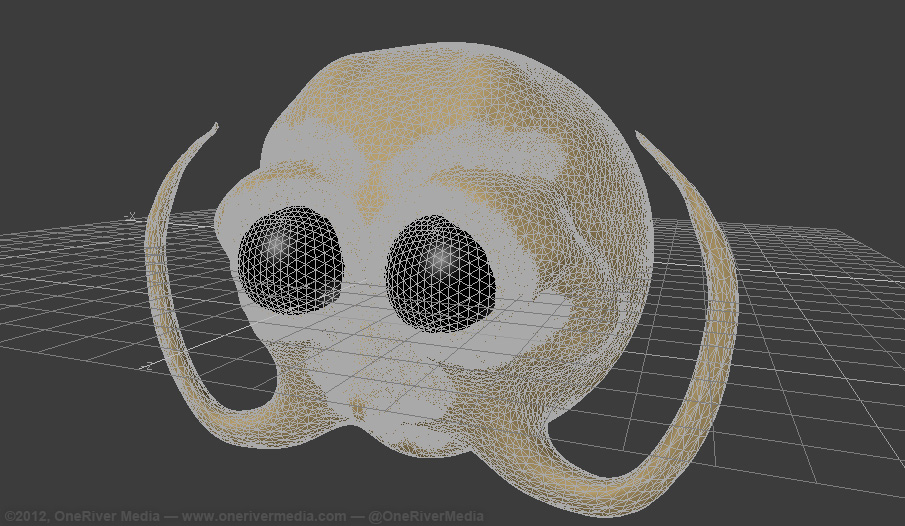
Let’s start with FREE. I recently stumbled upon Pixologic’s Sculptris 3D modeling application (widely known for their ZBrush software), which is totally free to download without trial limitations imposed. It’s a pretty simple program, but it has some really cool modeling features that act more like shaping clay than dealing with polys, points, or NURBs. I started with a sphere, and ended up with the model you see below within 5 minutes. It’s really that easy. I could have spent more time detailing this model out, but I was just tinkering so I stopped there.
I brought the alien 3D model into Newtek Lightwave 3D ($1495) which employs a dedicated modeler application and animation application. I’ve been working with Lightwave since 1996 so it’s safe to say it’s my flagship 3D software suite of choice here at OneRiver Media (expect a review on the latest Lightwave 11 update from me over at Creative COW in the near future). I mostly wanted to bring the model into Lightwave to see how the polys converted over, as well as assign surfaces to specific polys. Nothing too complex here, but the model imported perfectly fine.
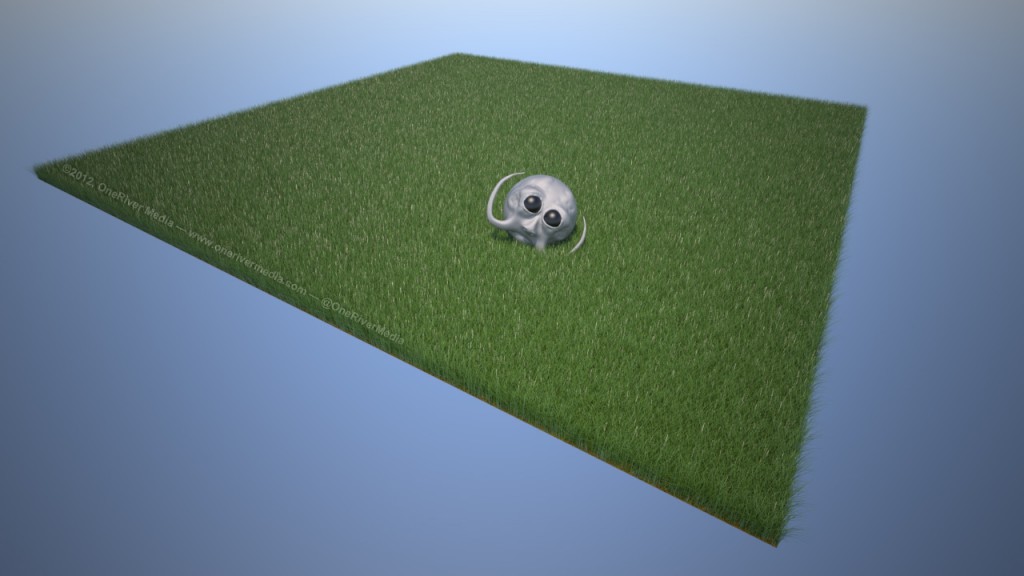
I did decide however to bring it into NextLimit’s Maxwell Studio/Render 2.7 ($995) and set up a scene to render it using their brand new grass feature. Maxwell is a photo-realistic rendering engine that uses a virtual photonic energy process, rather than traditionally based rendering engines. Their new grass feature is amazing and offers a ton of tweaking. In the example below, I set up the alien head on a flat plane primitive, where I then applied the grass to the plane. I only used a single color with constant grass coverage, so nothing too detailed. Again, I was just tinkering to get some render passes through to see how well things are working with the new features. Nonetheless, even only spending a very short amount of time of dabbling, I think the renders turned out well.

Model brought into Maxwell Studio, Maxwell Grass added, rendered in Maxwell Render. Note the depth-of-field (DOF).
Here’s a close-up of the alien head lying on the grass. One of the really cool things about Maxwell Grass is that the grass blades don’t poke in or through the model like other grass plugins I’ve used in the past. The grass blades form and fan out to accommodate the shape of the interacting 3D object. I didn’t have to tell Maxwell to do this; it just did it.

Grass blades form and fan out against 3D models. Final image denoised using Magic Bullet Denoiser II, one of my secret weapons for 3D animation renders.
Here’s a screen capture of how I have the two apps set up on my monitor: Maxwell Studio on the left and Maxwell Render on the right. Before final render, I use Maxwell’s Fire window (not pictured) to interactively see the render update in real-time.
Okay, so now I wanted to switch gears a bit. I finally got Video Copilot’s new Element 3D (starts at $149, and goes up with bundling) installed and wanted to give that a quick spin as well. It’s a brand new piece of software that works inside of Adobe After Effects. It has a few limitations so far (no shadows is a big one), but despite some of its limitations, it has some incredible features and at low cost. It performs very quickly and the quality is quite good. For some projects, this 3D tool is perfect without the need of high-end 3D suites.
Here’s the interface where I have Element 3D open, using one of their missile 3D objects that was included in the Element 3D Studio Bundle we purchased (all inclusive at $495: Element 3D, Pro Shaders, 6 model packs).
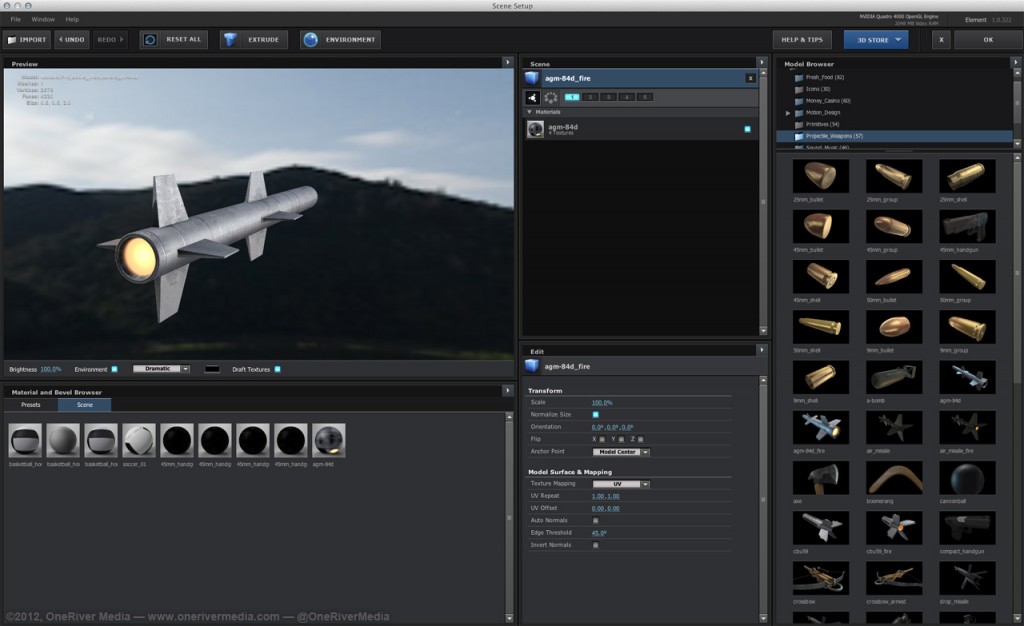
Video Copilot’s new Element 3D is a treat to work with. Extremely fast, easy to use, and the price is right. I’ve wanted 3D integration like this in After Effects for many years.
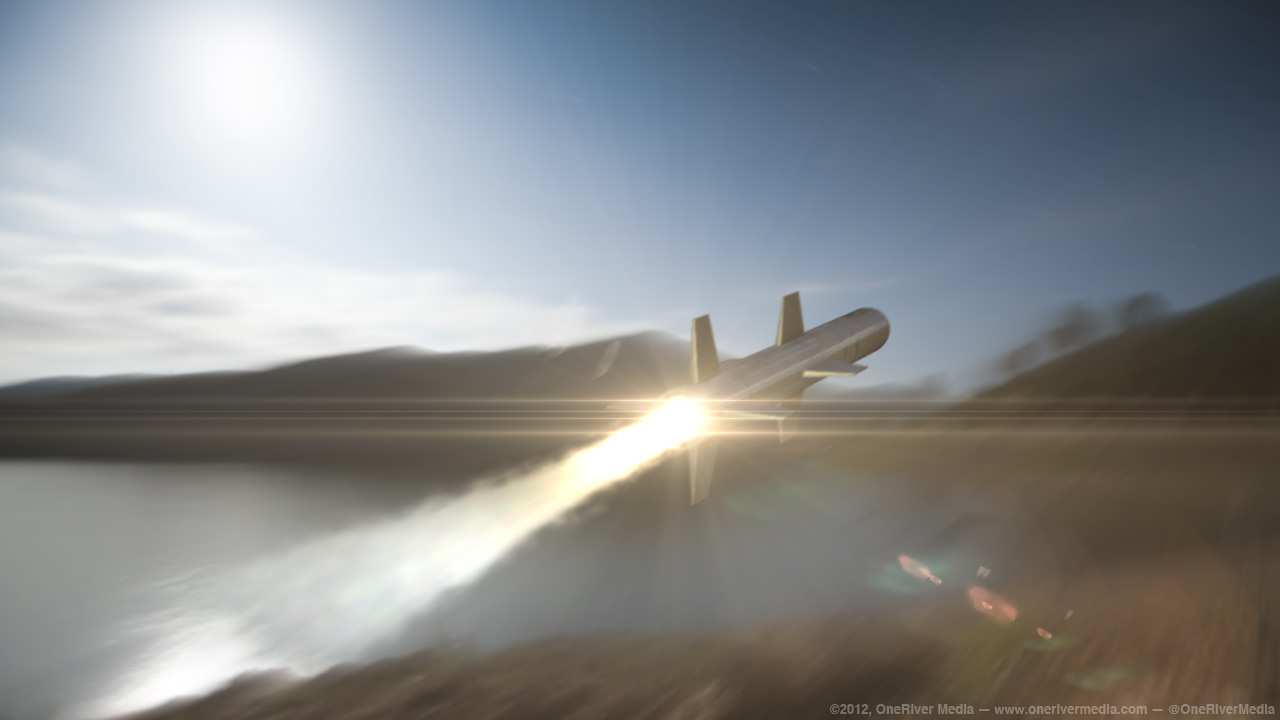
From there, I worked in the main layout in After Effects. I added a single point light (where the burner is emitting from), a background plate I shot, a solid layer for Particular (smoke trail effect from burner), and a lens flare using Video Copilot’s other software, Optical Flares (starts at $125). Here’s the result I made in a very short amount of time:

Using Element 3D in conjunction with other tools in After Effects can quickly lead to exciting results.
Last for today’s 3D workings is back to NextLimit, this time using their RealFlow application ($4000 per license, yes all those zeros isn’t a typo). We recently acquired a new license along with some added RealFlow Nodes ($500 each) to speed up solution time (not to be confused with rendering time). I’m working on a new splash logo (pun intended) for OneRiver Media during off time.
RealFlow is a fluid dynamics engine at heart, and also employs collision detection of other types (soft and hard body objects). It’s quite amazing when it comes down to it. For this splash logo, I’m adding the water physics itself (splashing into the logo), as well as bubbles, foam, mist, and spray. It can get quite deep, and the possibilities are endless. It’s a slow process (set up, physics solution processing, testing, and final rendering) but the final results are nothing short of spectacular with truly life-like results.
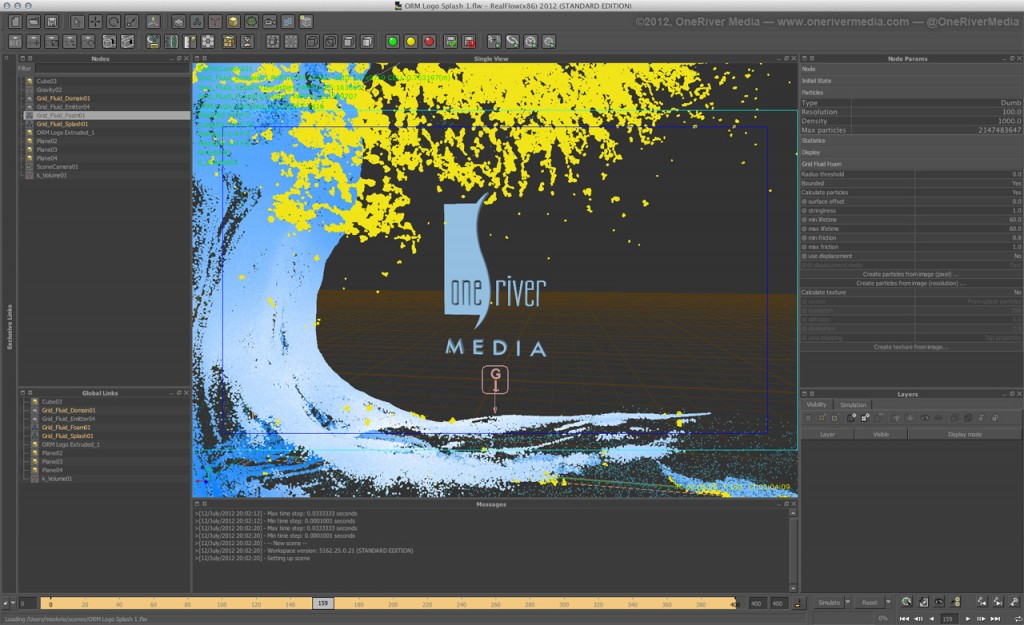
Setting up a RealFlow scene with OneRiver Media logo and fluid dynamics. Shown here in particle form. Final output will be rendered in Maxwell Render.
So from literally free 3D software to very expensive 3D software, we’ve covered a large gamut of options. And as mentioned in the beginning, they all produce quality results, something not possible even just ten years ago. The possibilities are endless for the 3D dabbler, as well as the 3D professional.
Check out my older blog post about using 3D as part of your creative arsenal, where I write about other free 3D software solutions you can start using.
Cheers!
Share this post
Article © OneRiver Media, including applicable photographs. All rights reserved. Article and its contents shall not be copied or reprinted without the expressed written approval of OneRiver Media.
FCC Disclaimer - Links from this article might go to affiliate links to B&H and/or Amazon (not much different than the ads you see in YouTube ads, but more focused). Visiting these links (or buying products from the links) cost you nothing additional and may in turn help us pay for the cost of hosting these free articles we write. These articles take an enormous amount of time (in most cases, weeks and months) to research, draft, write, edit, rewrite, and shoot custom photography/video for. In no way do these affiliate links cover the cost of all of that, so any help these links can provide is a huge help to us to continue to offer free content to our readers.

Comments 4
I have heard of Zbrush which I believe they used in Pirates of the Caribbean, but I was unaware of its little sister Pixologic’s Sculptris and I certainly was unaware it was free. Downloading it now to give it a test drive.
Thank you for the information
Author
Glad to help! Yes, it’s actually a pretty good piece of software. It lacks a few things, but it’s pretty easy to use. The second time I used it, I made a fairly decent looking human head with it.
Thank you for the information..
I like sculptris…for character modelling (www.cor3dan.wordpress.com)
Hi,
Very interesting indeed.
For more informations about maxwell render. I made a few tutorials on my blog.
If anyone interested:
j&Denis: http://www.edifik.fr/bloging/
cheers.